One of the most glossed over replacement part for the 80 series land cruiser is the fuel sock filter that attaches to the fuel pump. It is just as important as replacing the regular fuel filter. I had ordered a replacement one a while back and not got around to actually doing it till today.
First thing is to take the gas cap off of your filler neck to discharge the tank of any pressure.
To get to it you need to roll the front seats up and pull the carpet back from the front/back split right there.
You will see a little oval panel right away with 3 screws on it.

Take the panel off and you will be rewarded with this sight.

You will need to unhook the wiring harness and disconnect the two fuel lines that attach to the plate. One fuel line pulls off after loosening the hose clamp, the other can be removed by taking out the banjo bolt in the picture. After that you will need to take out the small screws around the new panel and you can pull the fuel pump up…. BE CAREFUL it is very easy to bend the fuel level sender arm and if done so your fuel gauge may not be very accurate.

Here is the sender float
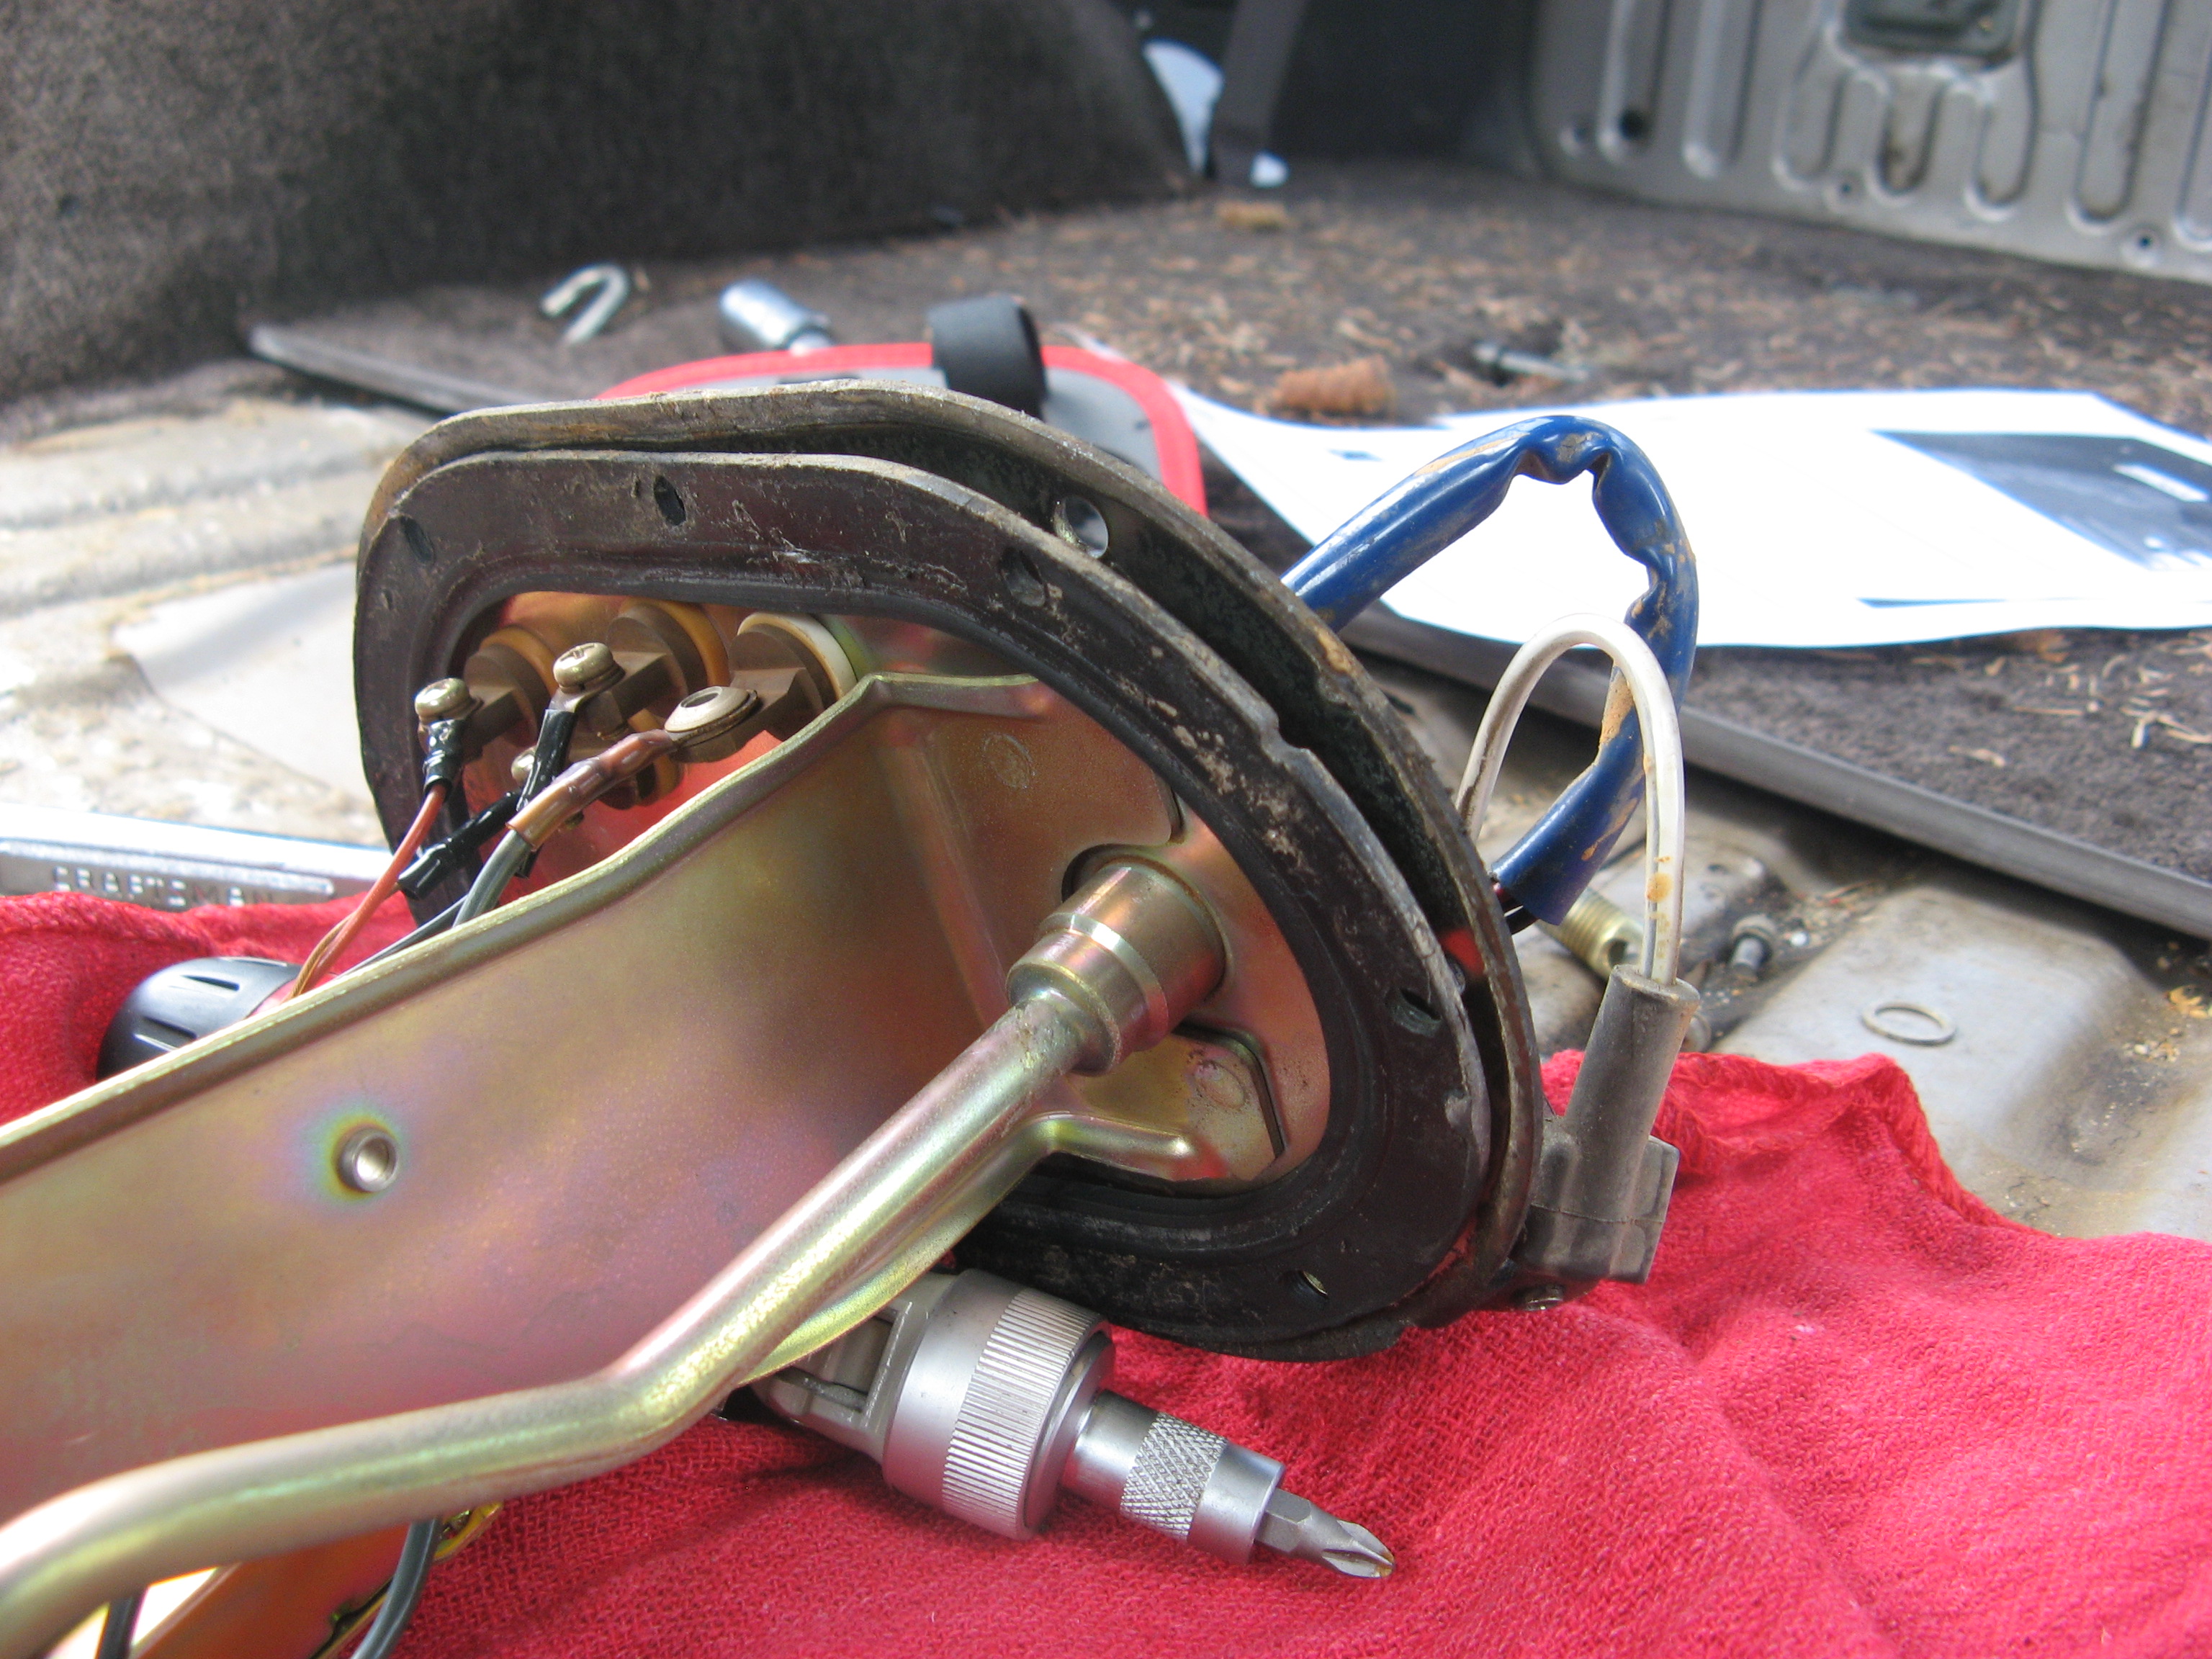

Be Careful Pulling this out
Here you can see the dirty fuel sock at the end of the pump.

Dirty Fuel Sock
To remove the sock filter you need to remove the black gasket at the bottom as well as the clip underneath it that the sock is attached to. You don’t need to replace these two parts but I went ahead and did it anyway.

Gasket

Clip
The difference between the dirty and clean stock will amaze you

Dirty vs Clean Filter

New filter on
After you get the new filter on reverse the process and once again be careful with the fuel float arm.
Part numbers are as follows:
Filter, Suction (fuel sock) P/N 23217-11010
Clip, Fuel Pump (used to attach sock to pump) P/N 23219-03010
Gasket, Fuel Suction P/N 77169-60010


